Mudroom Lockers
Our mudroom lockers were a DIY project that the whole family worked on together. My Dad does wood working and came down from Buffalo to help Michael build the bench top, base, and upper cabinet portion. Taylor loves to sand, Addison filled in the nail holes with putty, and I painted and stained.
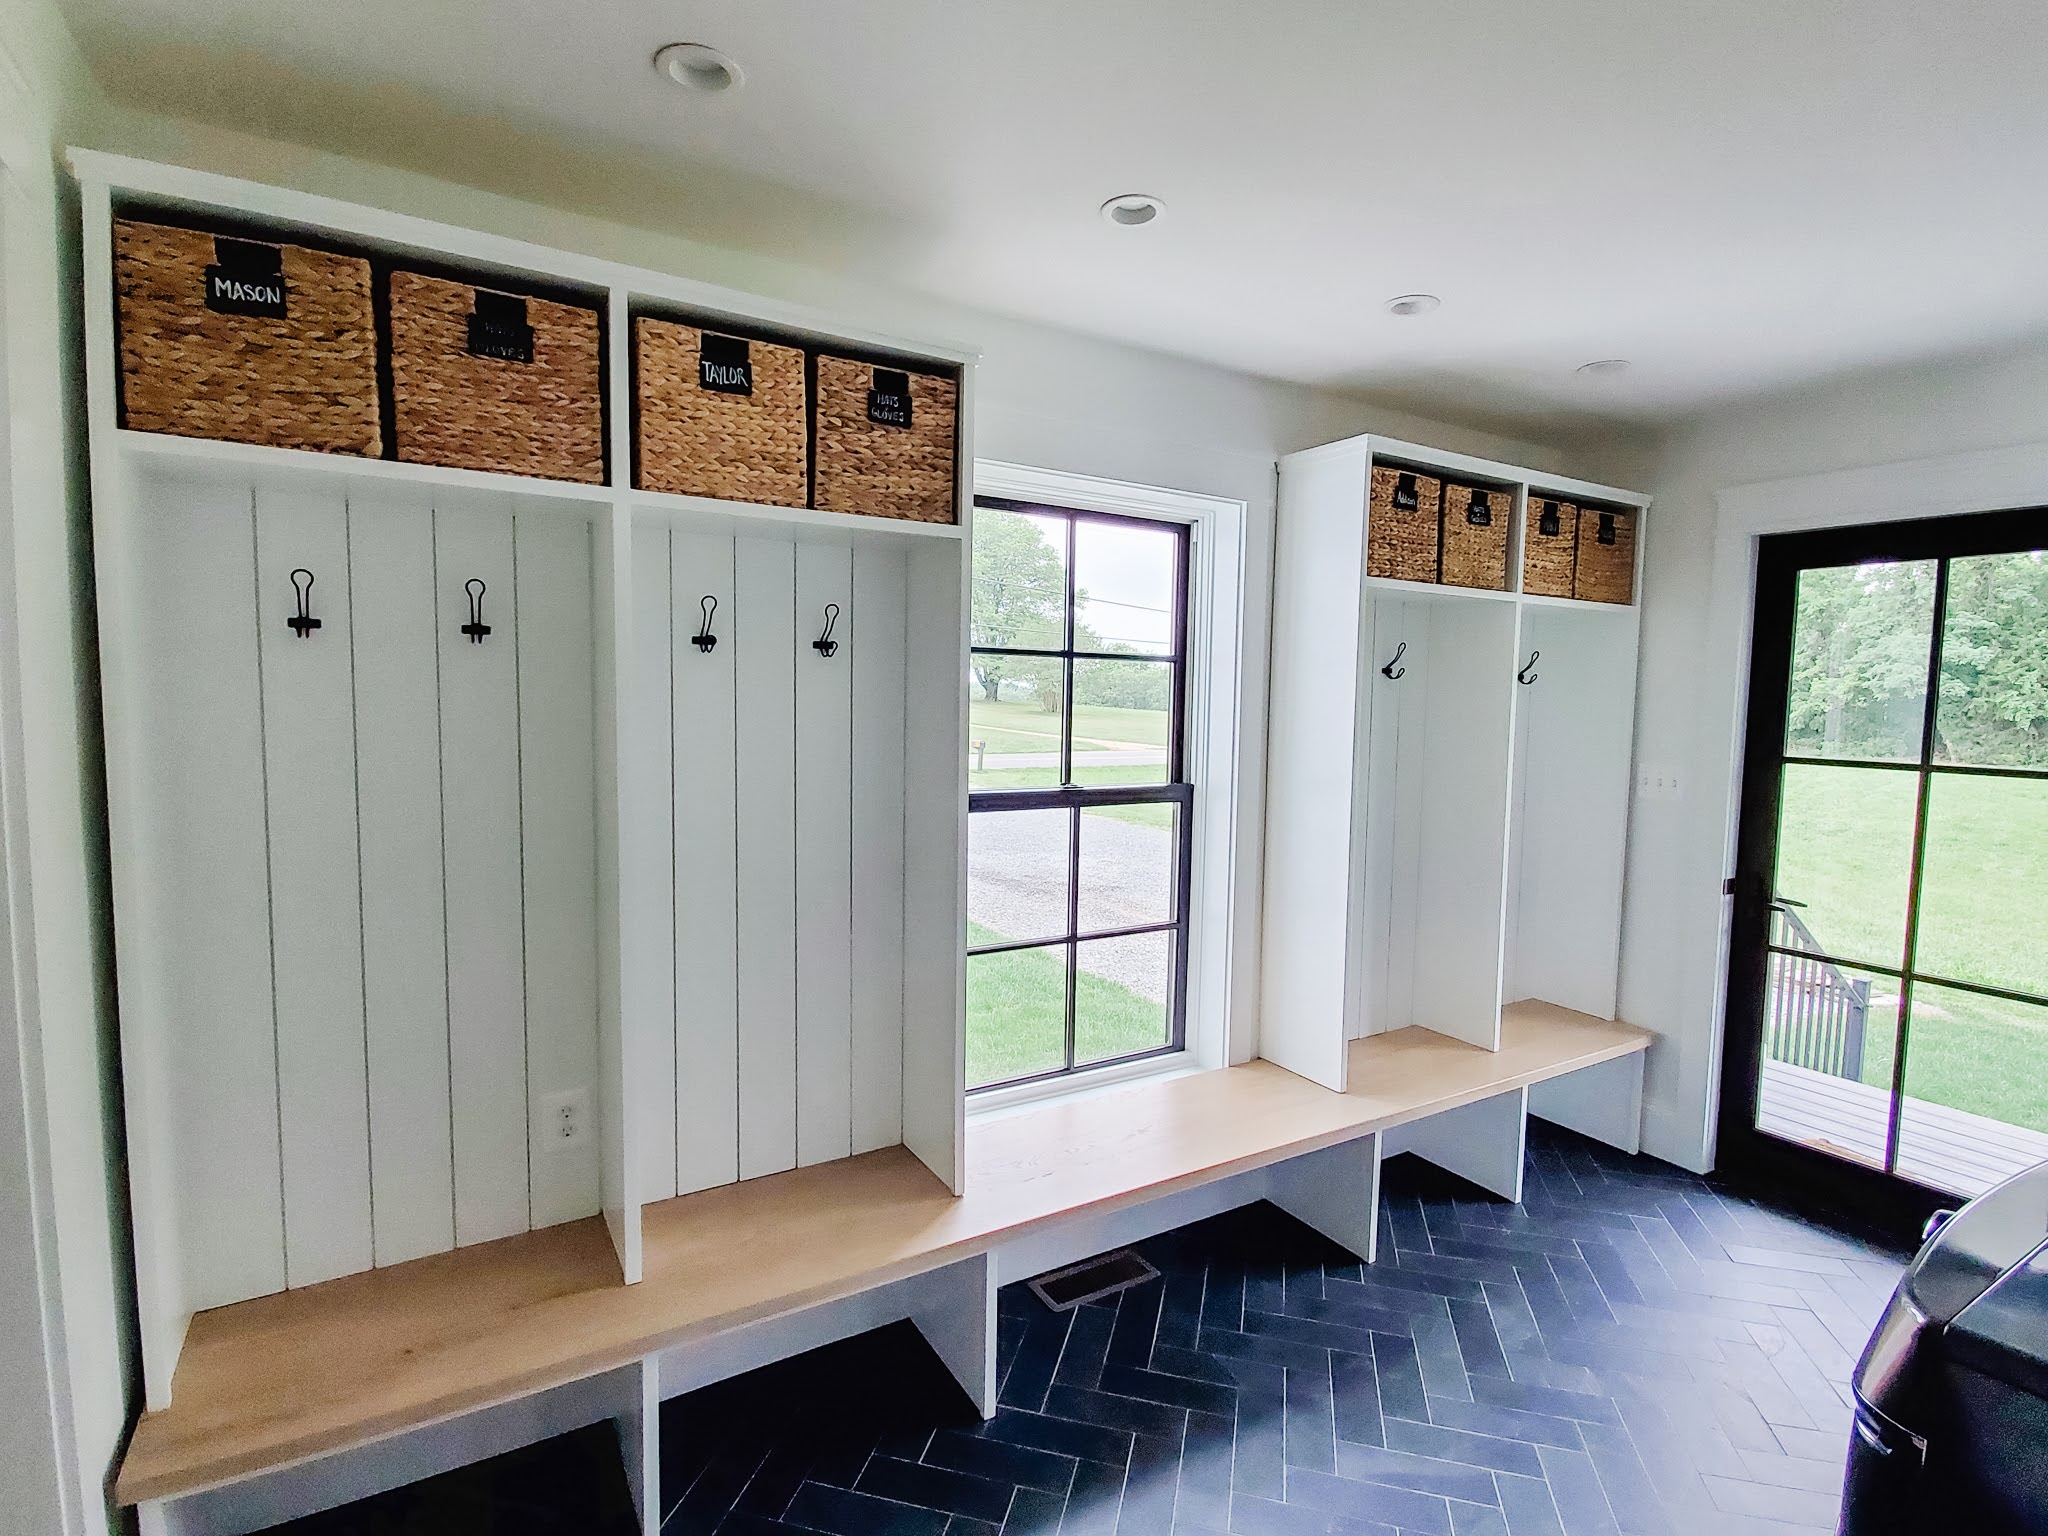
When planning out the lockers, we decided to have 2 lockers on each side of the window. There are 5 people in our family, but I wanted the space to be symmetrical and the lockers to be wide enough for an adult to comfortably sit down.

Michael used 3/4 inch birch plywood for the base and upper cabinet, 3/4 inch poplar for the face frame, and white oak for the bench. We purchased 10 foot long, 6 inch wide, 5/4 thick, white oak boards from Exotic Lumber in Annapolis. Our bench top is 13 feet long so Michael and my dad had to join a couple boards together.
For the stain, I went to Home Depot and bought a bunch of different stain colors to try on the scrap pieces of the oak. It is important to note that the picture on the can of stain is nothing like the actual color! It is best to try out a few colors and see what looks the best for the type of wood you are using. The winning stain choice was Varathane Antique White and it is just about a perfect match to my Mercier white oak crema hardwood floors. I applied one coat of stain and wiped it off right away so it didn’t get too dark. Then I applied one coat of Varathane Triple Thick Polyurethane in a matte finish.

White Oak 
Joining 3 boards together 
Getting the bench ready for stain. 
Applying the stain 
One coat of stain 
Bench top in place


We built the base in two sections that we joined together once it was inside the mudroom so it wasn’t too heavy to carry.


After the bench we got to work on the upper cabinet portion. It is important to pick out the baskets beforehand to make sure they fit. The water hyacinth storage cubes from The Container Store were the right depth and I like how two fit next to each other. We built and assembled each upper cabinet separately outside.


Sanding, caulk, and wood putty 
Michael added trim to the top to match our window trim 
More sanding 
Finally ready for paint!


I painted the cabinets the same color as our walls, trim, and ceiling–Benjamin Moore Chantilly Lace. I used the HomeRight Super Finish Max paint sprayer to paint. It is a little tricky to get the paint the right consistency to get a smooth finish. I learned the hard way. After the first coat dried, it felt rough and looked almost like there was sand in the paint. Turns out I should have added more water to the paint. So I had to wet sand both of the cabinets to get the cabinets smooth again and start over. There is really no exact ratio of paint to water to use, it all depends on the paint brand, finish, and your sprayer. I found the right ratio and documented it so I know for the future. I then applied two more coats of paint to the cabinets.


We finished the back of the upper cabinet with vertical shiplap and two matte black hooks in each locker. The finished product is better than I expected and extra special because we each played a part in the DIY 🙂
